How to Create a Public or Private Event on Facebook
I. Introduction
Creating events on Facebook has several benefits, including increased exposure for gatherings, facilitating easy invitations, and providing a central location for guests to find details and updates. Whether you’re organizing a birthday party, a business meeting, or a community event, Facebook events allow you to connect with your audience and keep them engaged.
II. Creating an Event
A. Accessing Events:
1. Web:
– Log into your Facebook account.
– Navigate to the left-hand menu and click on “Events.”
– Select the “Create Event” option.
2. Mobile App:
– Open the Facebook app and tap on the “Menu” (three lines).
– Scroll down to “Events” and tap on it.
– Click on “Create Event” at the top of the screen.
B. Event Details:
1. Name & Description:
– Choose a clear, engaging name for your event.
– Write a detailed description outlining what the event is about and any relevant information (e.g., agenda, activities).
2. Location (Physical or Online):
– Specify where the event will be held, either in a physical location or as a virtual event using platforms like Zoom or Facebook Live.
3. Date & Time:
– Set the start and end dates and times for your event.
4. Co-hosts (Optional):
– If applicable, add co-hosts who can help manage the event or promote it.
C. Privacy Settings:
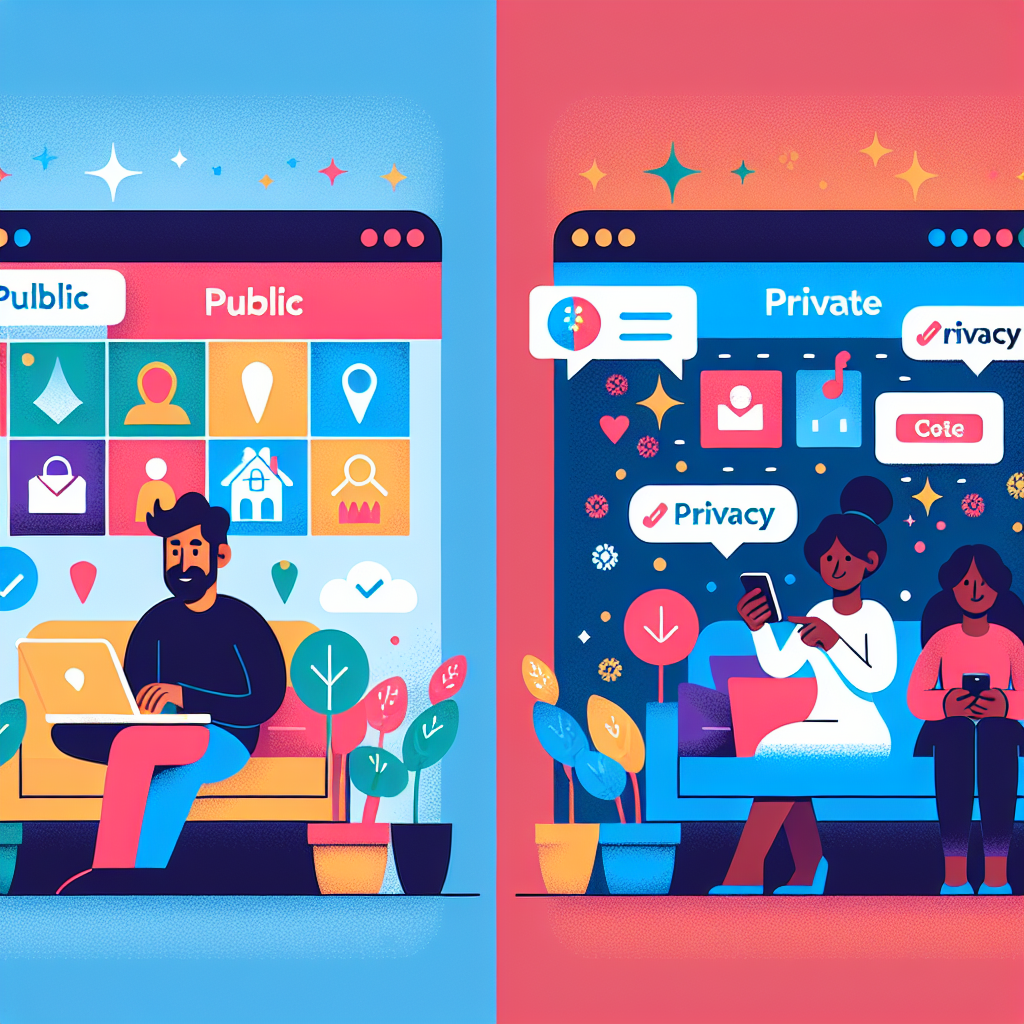
1. Public:
– Anyone can see and join your event, making it easier to gather a larger audience and gain exposure.
2. Private:
– Only invited guests can see and join your event, providing a more exclusive setting.
D. Adding Details (Optional):
1. Cover Photo/Video:
– Upload a visually appealing cover image or video that represents your event.
2. Keywords:
– Add relevant keywords or hashtags to make it easier for interested individuals to discover your event.
3. Ticketing:
– If applicable, link your event to ticketing services to manage attendance and handle RSVPs.
III. Managing Your Event
A. Inviting Guests:
– Utilize the “Invite” feature to send invitations to your friends or relevant individuals in your network.
B. Posting Updates:
– Keep your guests informed by posting updates, reminders, and important information in the event discussion.
C. Tracking RSVPs:
– Monitor guests’ responses to gauge attendance and make necessary arrangements.
IV. Promoting Your Event
To enhance visibility and attract more attendees, consider promoting your event through:
– Sharing it on your timeline and relevant groups.
– Asking co-hosts and attendees to share the event.
– Using Facebook Ads for targeted promotion.
– Collaborating with influencers or partners who can help spread the word.
V. Conclusion
Creating an event on Facebook is a simple yet powerful tool to bring people together, whether for personal celebrations or professional gatherings. By following the steps outlined above, you can efficiently create, manage, and promote your event, ensuring a successful turnout and memorable experience for all attendees.


