


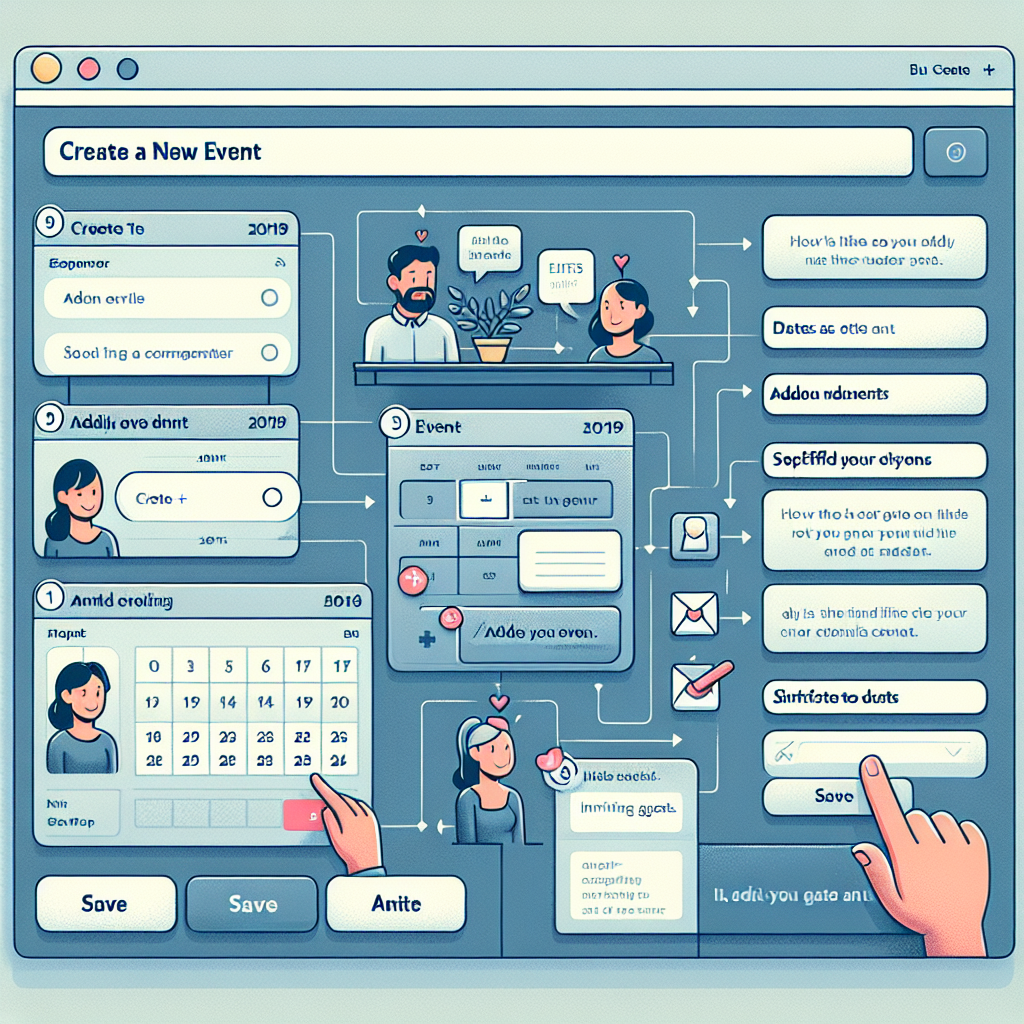
Here’s a concise guide to adding an event to Google Calendar, broken down into 9 simple steps:
9 Simple Steps to Add an Event to Google Calendar
Step 1: Open Google Calendar
– Action: Click on the Google Calendar icon (available on your device or at calendar.google.com) to launch the application.
Step 2: Navigate to the Desired Date or Time
– Action: Locate the specific date or time for your event using the calendar interface. You can also click on an empty time slot to start a new event.
Step 3: Click “Create” or “Create +”
– Action: In the top left corner, click on either “Create” or “Create +” to begin creating your new event.
Step 4: Add Event Title and Details
– Action: Enter a title for your event. Optionally, include additional information such as location, description, and invitees.
Step 5: Set Event Dates and Times
– Action: Define the start and end times for your event. Either use the calendar interface or enter the times manually. For recurring events, specify the frequency (daily, weekly, monthly).
Step 6: Invite Guests (Optional)
– Action: To invite guests, find the “Add guests” option on the left side. Type in email addresses, and they will receive invitations.
Step 7: Add Additional Information (Optional)
– Action: Include details such as room reservations, meeting links (e.g., Google Meet), or attach relevant files if needed.
Step 8: Review and Confirm Event Details
– Action: Carefully check all entered information to ensure accuracy before saving the event.
Step 9: Save the Event
– Action: Click “Save” at the bottom of the event details page. Your event will be created, and notifications will be sent to any invited guests.
By following these nine steps, you can effectively add an event to your Google Calendar, whether starting from scratch or integrating with your email.